While QuickQuote’s shapes may look very basic at first glance, you can add all kinds of modifications to them to create incredibly detailed drawings without ever having to touch the CAD tools. In our basic drawing tutorials, we go over things like cutouts, radiuses, and miters, but what if you had to create a notch in the corner to accommodate a post or something similar?
Originally, you’d need to use the banjo cut option to cut a corner like that, but not too long ago we added a couple of new drawing items so that you can do this from the shape’s corner drop-downs instead. One is for a rectangular notch, and one is for a curved notch, which is basically an inverted radius corner. Like with a radius corner, you need to add a corresponding premium item for QuickQuote to use for pricing in order to activate each of these options.
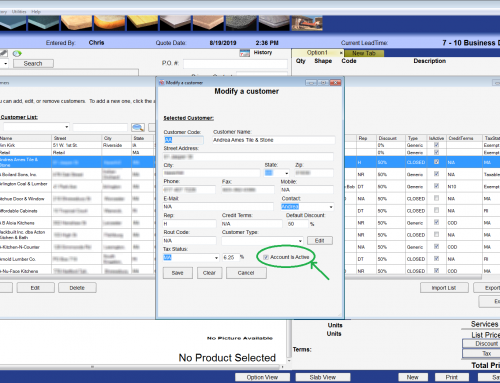
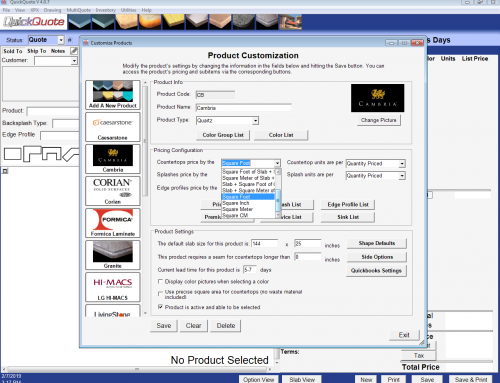
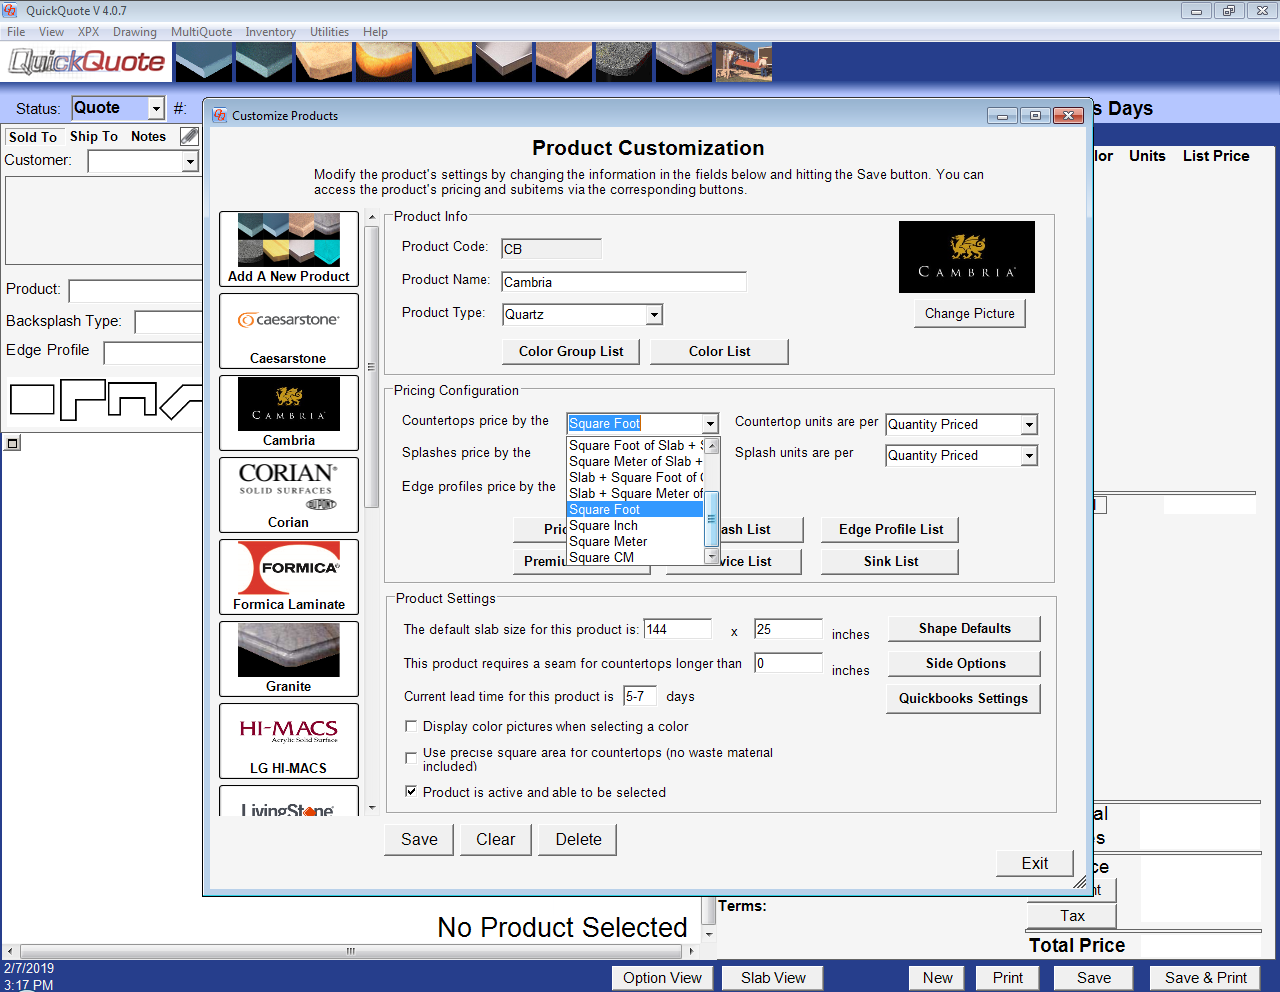
To do that, head over to Utilities->Customize Products, and select the product you want to put them in. Click the “Premium Item List” button to see what items you already have set up. If you don’t have them already, add a new premium item for your rectangular notch and make sure to select the “Notched Corner” item type. For the curved one, add a premium with the “Radius Corner Notch” type. You can leave the price at zero if you don’t want to charge for them.

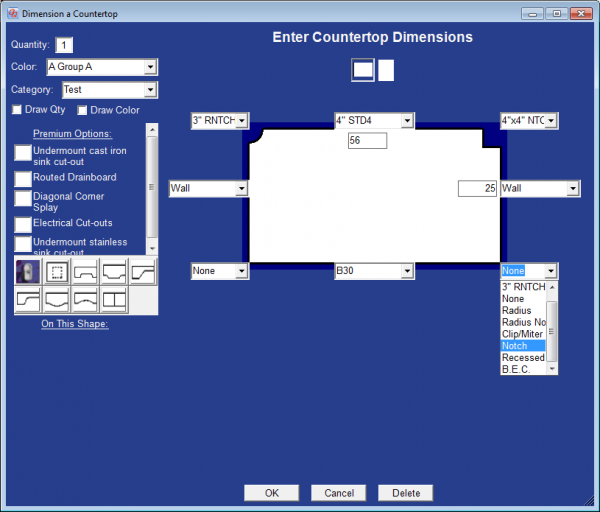
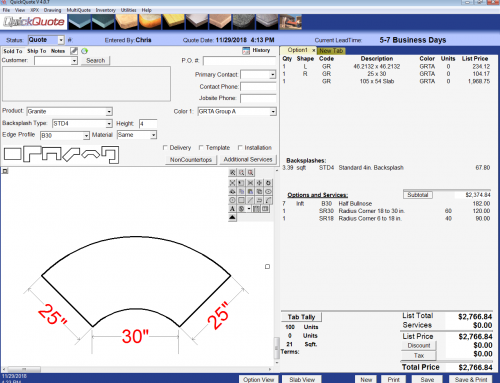
Once you’ve saved the items, you’ll be able to select the “Notch” and “Radius Notch” options from the corner drop-downs on your shapes. Like with the other corner options, QuickQuote will ask you for your dimensions. For the regular notch, it will be length and depth. For the radius notch, it will be the radius of the curve.
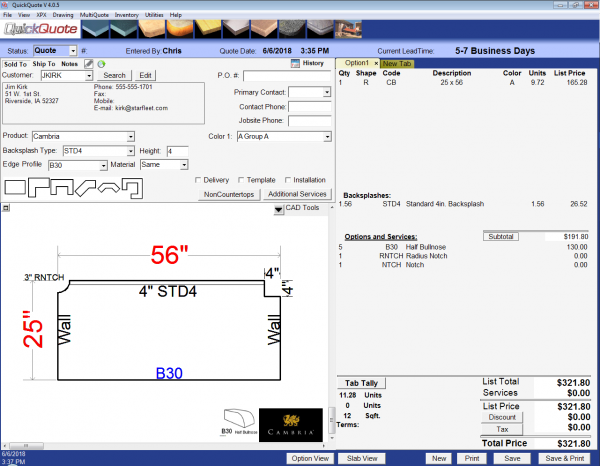
Then hit “Ok” to draw your shape as usual, and voila, the corners you selected will have notches.
There are lots of other ways to customize your shapes like this, so make sure to check out our Advanced Drawing tutorials, and don’t forget to check back soon for another Tips & Tricks post!
Leave A Comment