There are a couple of ways to add a joint or seam to a countertop in QuickQuote when you have a shape that’s either too big for one piece of material or would simply be difficult to handle at that size.
1. When Quoting:
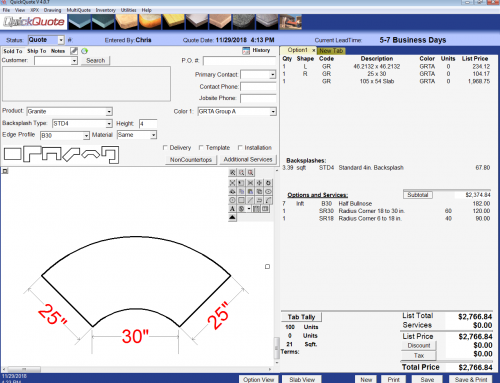
The easiest way is to use the Joint/Seam toolbar option on the window where you add your dimensions to your countertop.
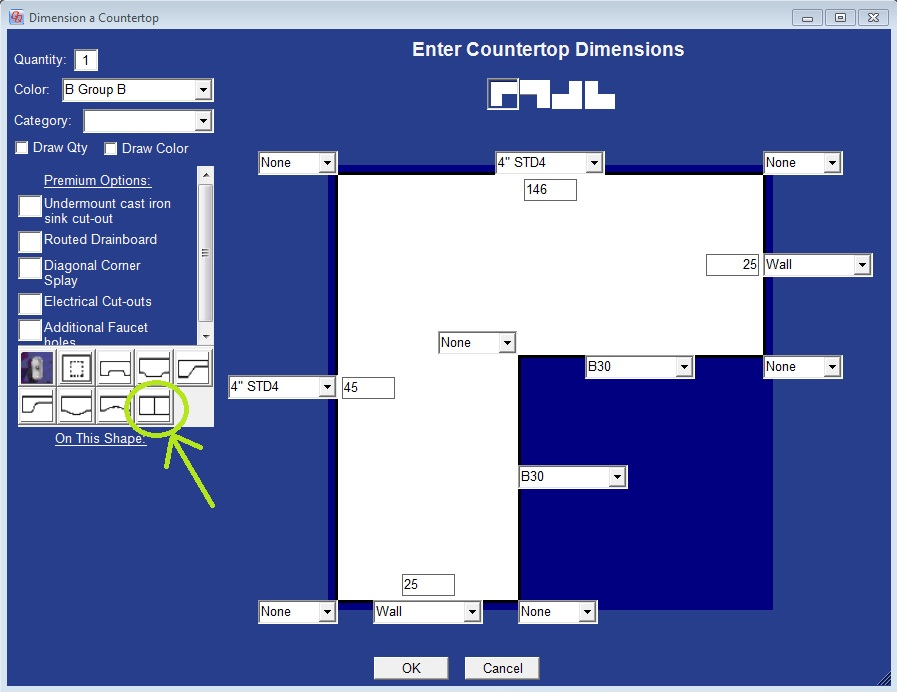
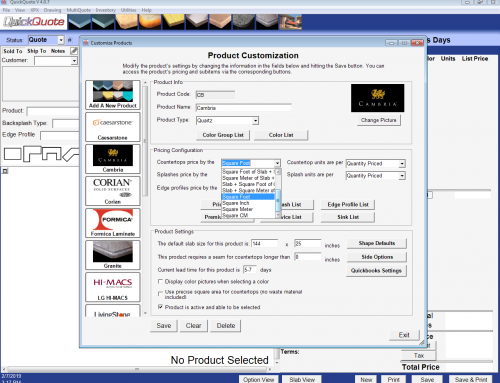
Every option on this toolbar has a corresponding item that can have a charge for the quote, so make sure you have at least one item in your product’s Premium Items list whose item type is set to “Joint/Seam”, otherwise QuickQuote will tell you that joints/seams are not available for that particular product. You won’t need to give it a price, though you can if you want.
If you have your item set up, click the toolbar button and it will ask you which side of the countertop you’d like to split. Once you’ve chosen a side, you can enter the position of the seam. There are also checkboxes available to add different labels based on the type of seam it is.
Then hit ok to draw your shape, and it will automatically draw a line for the seam (and the dimensions to position it if you have that turned on in your Drawing Defaults.)
Check out this tutorial video to see this in action:
2. When Laying Out Slabs:
A shape with a seam added when quoting will automatically split into two blocks in the slab layout section, but if you only need to split a shape to figure out how it will fit on a slab, you can use the Break Line tool to split any shape into pieces.
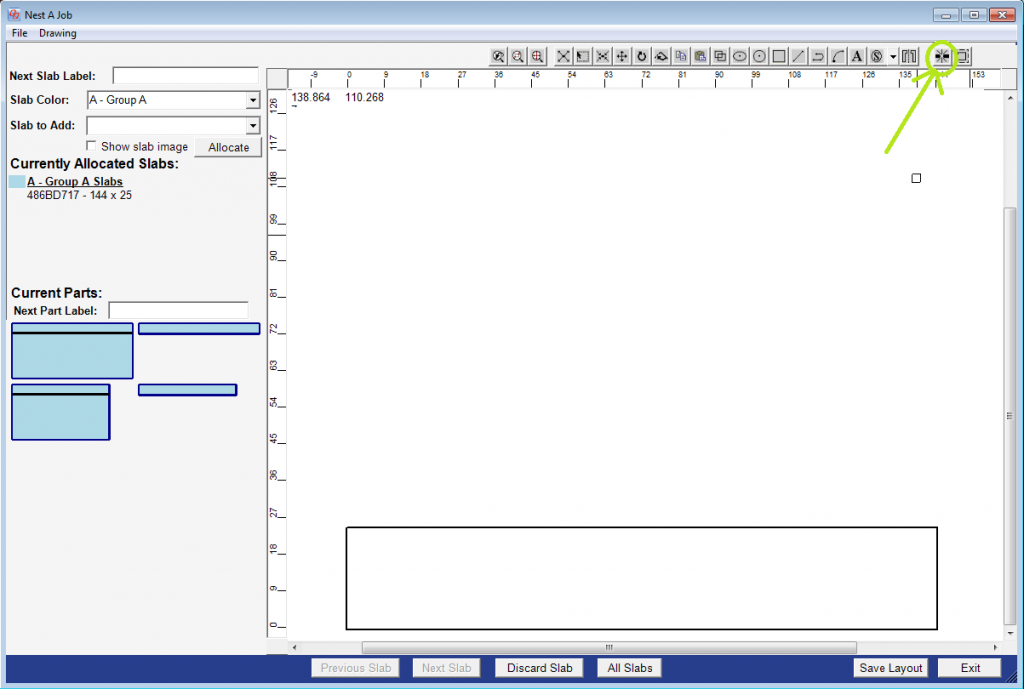
Click the Break Line tool, then draw a line across the shape where you want to split it. Make sure both ends of your line are outside the shape so that it won’t end up slightly inside the sides you want to break by accident. This will create a line between the points on the shape you crossed, and split it into two pieces using the line you drew.
You can see the Break Line tool used in our Slab Layout tutorial video:
So, that’s how you can add joints and seams. For more information on the numerous drawing options available in QuickQuote, visit our Tutorials Page, and if you have an questions, feel free to contact us.

Leave A Comment