In a previous Tips & Tricks post, we talked about setting up customer types to give different kinds of customers different price levels in QuickQuote. In this one, we’re going to tackle what to do when you need different addresses for the same customer.
For example, if you’re working with a box store like Lowe’s or Home Depot, you’ll probably want to put in the homeowner’s information for that particular job. Since they’re not your actual customer, you don’t need an entirely new selection for your drop-down list, but you would at least want their address attached to the quote somehow.
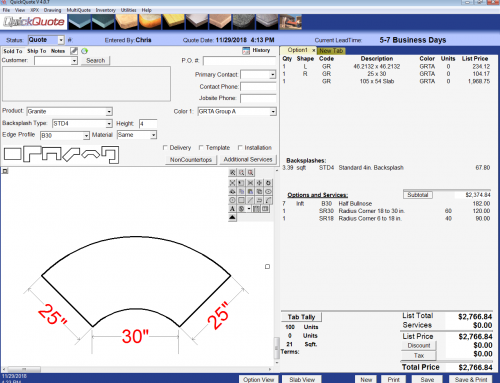
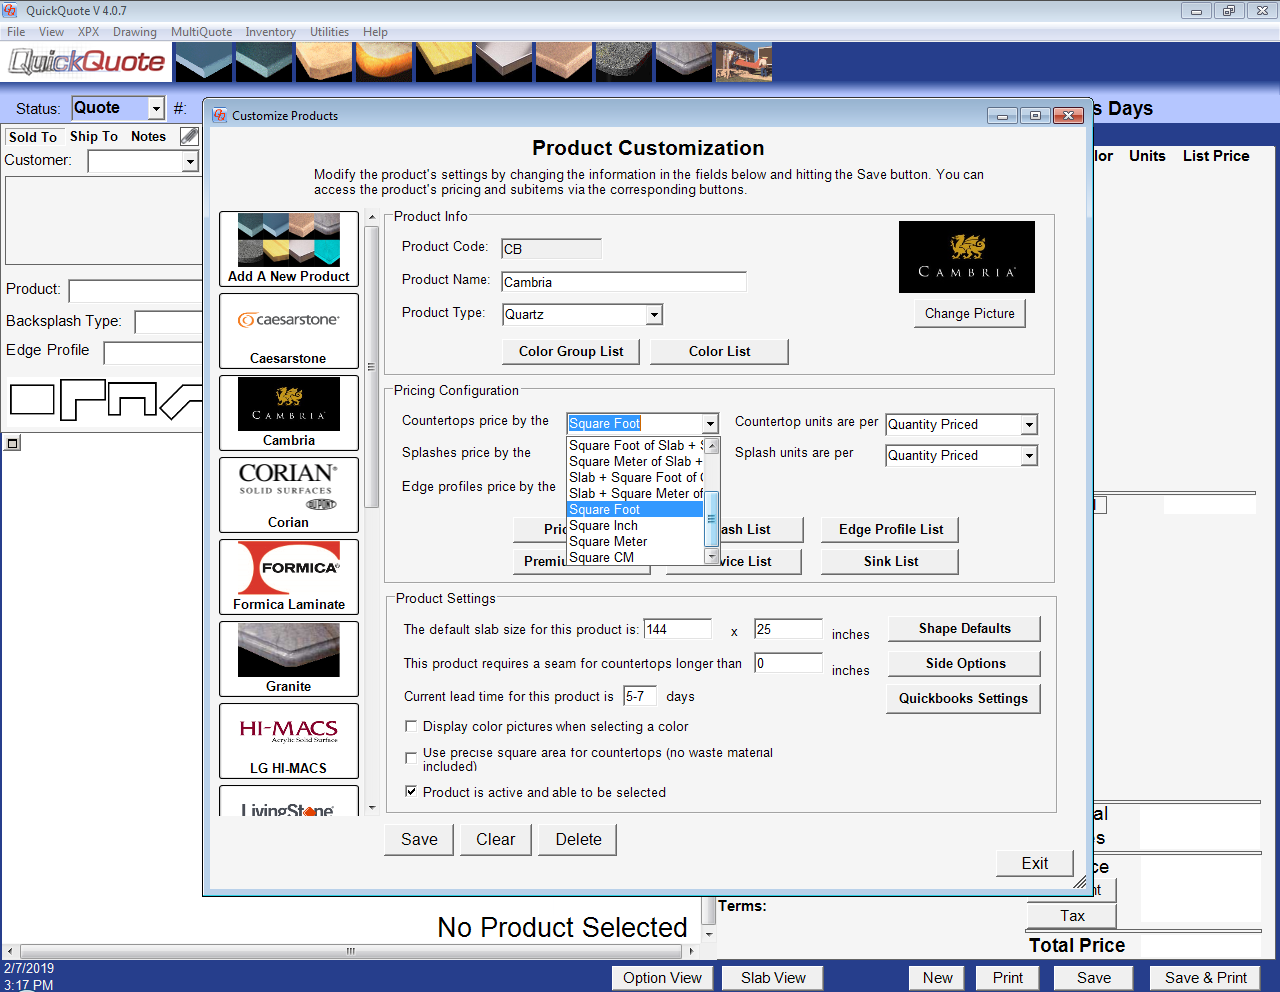
That’s where the often overlooked Ship To tab comes in. To find it, you want to look right above the normal customer drop-down, where you’ll see “Sold To”, “Ship To”, and “Notes”:
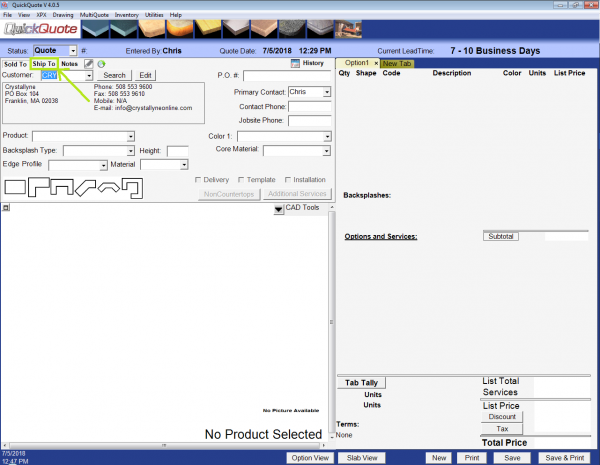
If you click on “Ship To”, you get a second set of fields you can use for the homeowner’s name, their address, a set of notes just for them, and even a place to put special directions that may apply. Unlike your customer address and such, this is specific to the quote, so it won’t clutter up your customer list with essentially one-off info.
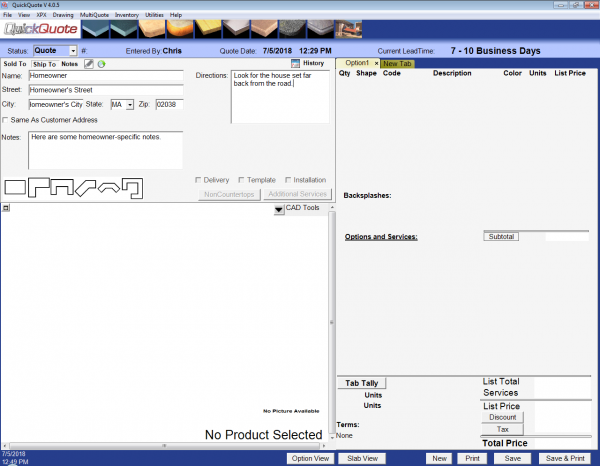
Once you have that stuff put in, just click “Sold To” if you want to switch back to the normal customer and product selections.
By default, the Ship To fields do not show up on our standard printout, but we can custom tailor your printout to either have the Ship To tab override the normal customer section or to be a separate section all its own. If you’re interested in having your printout adjusted like that (or customized in some other way) contact us with your change request for an estimate.
So that’s the answer to a couple of our most frequently asked questions. Check back soon for another edition of Tips & Tricks for more ways to get the most out of your QuickQuote countertop software!
Leave A Comment